
Low-Effort, High-Impact Interior Upgrades That Change How a Space Feels
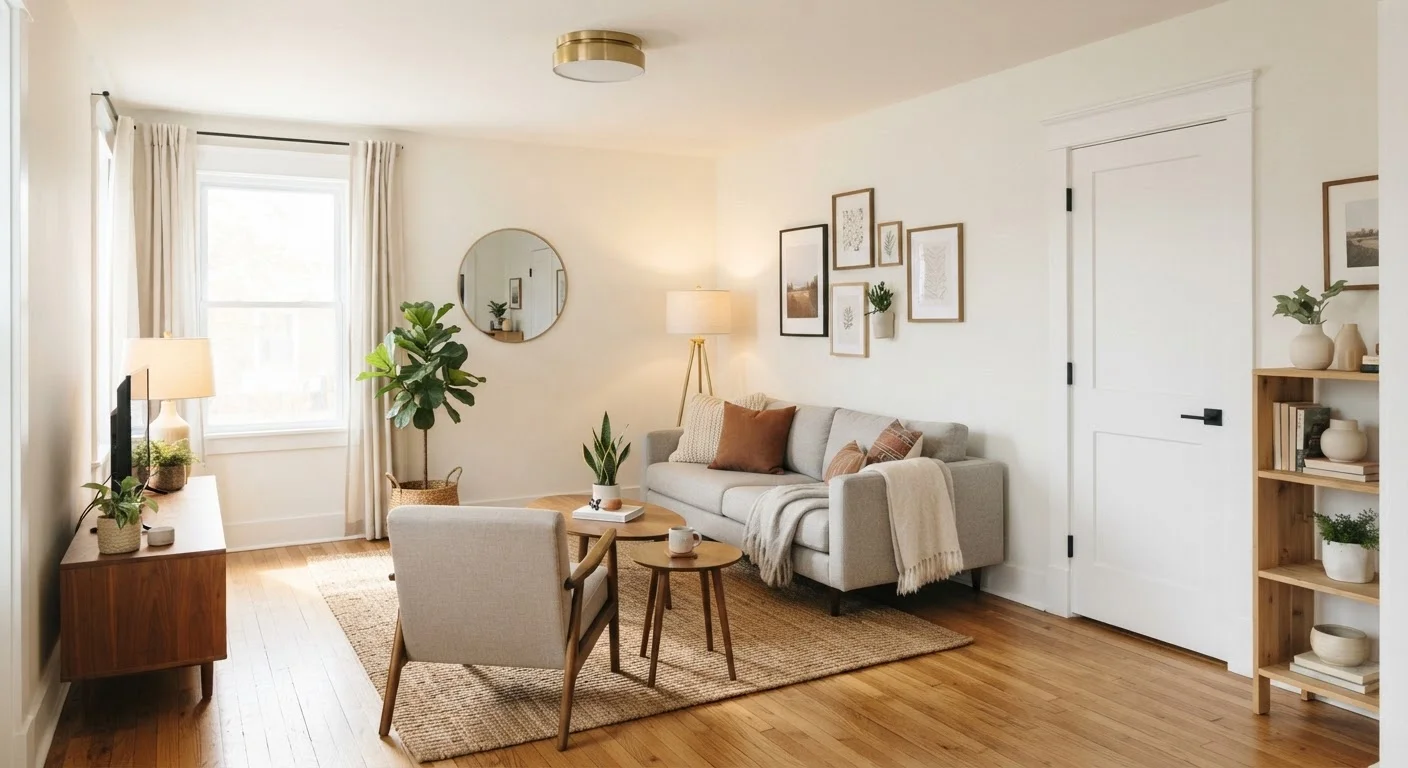
Photo credit: InfoHorizon.net | Access To Informative Content
Replacing outlet covers, adding crown molding, or changing door hardware can transform a room without demolition or a big budget.
Key Takeaways
- Swapping outlet covers, door hardware, and light switches costs little but signals quality throughout a room.
- Crown molding and baseboards add architectural character without requiring demolition or permits.
- Paint applied strategically — on an accent wall or cabinetry — delivers the highest visual return per dollar.
- Lighting placement and bulb temperature shape mood more than most homeowners realize.
- Even small organizational upgrades work best when paired with intentional editing of what stays in a space.
Why Finishing Details Carry So Much Weight
Major renovations get most of the attention — knocked-down walls, new flooring, gut-renovated kitchens. But the details most people live with every day? Yellowed outlet covers, mismatched door knobs, builder-grade light fixtures installed in 1998. These small things accumulate into a quiet visual fatigue that's hard to name but easy to feel.
The good news is that the gap between a tired room and a pulled-together one is often a few weekends of low-skill, low-cost work. None of the upgrades below require permits, structural changes, or professional contractors. They do require a little patience and a willingness to look at your home through fresh eyes. For anyone curious about bigger changes, our guide to open-concept renovations walks through when more dramatic steps actually make sense.
Start With One Room, Finish It Completely
Spreading effort across multiple rooms simultaneously often leaves everything half-done and nothing transformed. Pick the room you spend the most time in and complete every upgrade on this list that applies to it before moving on. A fully finished room builds momentum — and gives you a clear template to replicate elsewhere in the home.
These upgrades work especially well in combination. Updating hardware, lighting, and trim in the same room creates a cohesive effect that exceeds what any single change could do alone.
Replace Every Outlet Cover and Switch Plate
Builder-grade plastic outlet covers yellow over time and crack at the edges. Replacing them with uniform covers in white, ivory, or brushed metal takes about two minutes per plate with a single flathead screwdriver — and the visual difference across an entire room is striking. The key is consistency: mixing styles or colors across a room undermines the effect. Pick one finish and replace every plate in the space, including cable TV and phone jacks.
What to watch for: Turn off the circuit breaker before touching any outlet or switch, even for cover replacement. It's a simple job, but electrical safety basics always apply.
Consistent, matching covers throughout a room signal quality that visitors notice without knowing why.
Swap Door Hardware Across the Whole Floor
Mismatched door knobs and hinges are one of the most common signs of a home that has been patched rather than maintained. Replacing interior door hardware — knobs, levers, and hinges — with a single coordinated finish (satin nickel, matte black, and oil-rubbed bronze are popular choices) gives a floor plan a unified feel. Most interior door knobs are held by two screws and swap out in under ten minutes per door.
Hinges matter too. Swapping builder-grade brass hinges for ones that match your knob finish is an extra step most people skip — which is exactly why doing it sets a room apart. Remove one hinge at a time so the door stays hung throughout the process.
Matching hardware across every door on a floor is one of the fastest ways to make a home feel intentional.
Add or Refresh Baseboards and Crown Molding
Trim work — baseboards at the floor, crown molding at the ceiling — gives rooms their sense of finish. Homes built quickly or on tight budgets often have thin, plain baseboards that look skimpy against the wall height. Adding taller baseboards (3.5 to 5 inches is a noticeable upgrade from the standard 2.25-inch profile) or installing crown molding where there is none adds architectural character that reads as craftsmanship.
Crown molding installation on flat, square rooms is a manageable DIY project; rooms with vaulted ceilings or complex angles are harder and may warrant a carpenter. Pre-primed MDF molding is widely available, cuts cleanly with a miter saw, and takes paint well. Caulk the joints before painting for a seamless look.
Taller baseboards and crown molding add the kind of architectural detail that makes a room look finished, not just furnished.
Upgrade Light Fixtures in High-Visibility Spots
Entry foyers, dining areas, and bathrooms are where light fixtures get noticed most. A dated brass chandelier or a bare-bulb ceiling fan with a cracked globe announces itself every time someone walks in. Replacing a single fixture in a high-traffic area — a pendant over a dining table, a flush-mount in an entry hall — shifts the room's character immediately.
Beyond fixture style, bulb temperature shapes mood significantly. Warm white bulbs (around 2700K) feel inviting in living and dining spaces; cooler bulbs (3000–3500K) work better in kitchens and task areas. Most homeowners can swap standard ceiling fixtures without an electrician, but any work involving new wiring, junction boxes, or panel connections should be handled by a licensed professional.
Bulb temperature shapes how a room feels as much as the fixture itself — and it costs almost nothing to change.
Paint Strategically, Not Necessarily Everywhere
A full room repaint is transformative but also time-consuming. Targeted paint applications can deliver a similar shift in perception with less effort. Painting a single accent wall in a living room or bedroom in a deeper, complementary hue adds depth without requiring you to move every piece of furniture. Painting interior doors — particularly in a contrasting color like deep navy or charcoal against white trim — is a high-impact move that takes one afternoon per door.
Kitchen cabinets are another option: painted cabinet boxes and doors in a fresh neutral or muted tone can modernize an entire kitchen for the cost of primer, paint, and hardware. Proper prep (cleaning, light sanding, and priming) determines whether the finish lasts. Skipping prep is the most common reason painted cabinets look worn within a year.
Proper prep work — cleaning, sanding, priming — determines whether painted cabinets last years or start peeling within months.
Install Window Trim Where There Is None
Many newer homes have windows set flush into drywall with no surrounding trim — a cost-cutting measure that leaves walls looking unfinished. Adding simple casing around windows (even a basic colonial or craftsman profile) grounds the window visually and ties it to the rest of the room's trim language. The job requires a miter saw, a nail gun or hammer and finish nails, wood filler, caulk, and paint — all manageable for a patient first-timer.
Measure carefully: consistent reveal (the gap between the window jamb edge and the casing edge, typically 3/16 inch) is what separates professional-looking results from work that looks DIY. A small reveal guide block makes maintaining this gap straightforward.
Window casing transforms a flush-set window from a hole in a wall into an architectural feature that anchors the room.
Making the Upgrades Stick
The projects above share something important: they improve how a space feels without adding more stuff to manage. That distinction matters. Rooms that feel calm and deliberate tend to stay that way when the objects inside them are edited as carefully as the finishes. Our overview of the trade-offs of going minimalist at home offers a grounded take on what paring back actually involves.
If you share your home with others, it also helps to align on which upgrades matter most before you start. Organizing a home with multiple people covers how to build systems that hold even when household members have different standards. And once the visual layer is sorted, it's worth a look at hidden storage most homes already have — many of these finishing upgrades pair well with smarter use of existing space.
Permits and Electrical Safety
The projects in this article are designed to be permit-free in most jurisdictions, but local codes vary. If any upgrade involves new wiring, moving junction boxes, or structural changes to trim around windows or doors that affect weatherproofing, check with your local building department first. When in doubt about electrical work, consult a licensed electrician — even simple-seeming jobs can carry real risk if wiring conditions are unusual.
For bathroom-specific upgrades that go a little further — caulk, fixtures, hardware — see our practical walkthrough: the weekend bathroom refresh that doesn't require a contractor.

Author
Home & Garden Editorial Team
Home & Garden Editorial Team is the collective byline for our editorial team and contributor network. Articles published under this byline or an editorial pen name are researched, written, and reviewed according to our editorial standards for clarity, consistency, and independence before publication.
View all articles →