
Caulk vs. Weatherstripping: Choosing the Right Seal for Each Draft Source
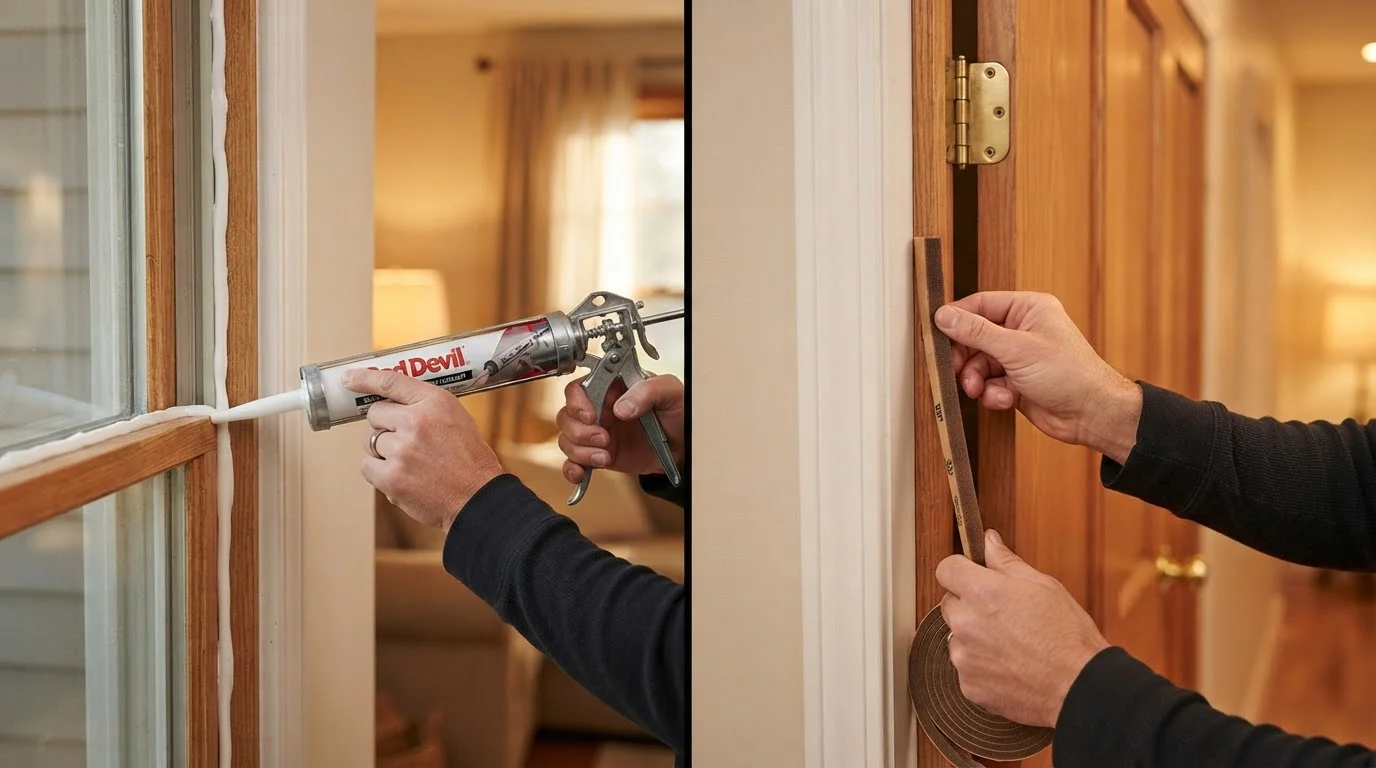
Photo credit: InfoHorizon.net | Access To Informative Content
In this article
Both caulk and weatherstripping seal air leaks, but each belongs in a different place. Learn which to use where and how to apply it correctly.
Key Takeaways
- Caulk seals stationary gaps; weatherstripping seals movable joints that open and close.
- Using the wrong material in the wrong spot leads to premature failure and wasted effort.
- Most homes need both products — applied in separate locations — to fully stop drafts.
- Caulk adheres to rigid surfaces and cures into a flexible bead; weatherstripping compresses on contact.
- Inspect both seals annually, especially after extreme temperature swings, to catch wear early.
Why the Distinction Matters
Air leaks are one of the most common sources of energy waste in American homes. The U.S. Department of Energy estimates that gaps around windows, doors, and other openings can account for a significant share of heating and cooling loss. The fix is straightforward — but only when you match the right material to the right location.
Caulk is a paste-like compound that you apply with a caulk gun, then smooth and let cure. Once set, it bonds permanently to both surfaces, forming a pliable yet stationary bead. Weatherstripping, by contrast, is a strip of compressible material — foam, rubber, vinyl, or metal — that squeezes into the gap each time a door or window closes, then springs back open when it does.
The single deciding question is simple: Does the gap move? If the surfaces on either side of the gap never shift relative to each other, caulk is the answer. If one surface moves repeatedly — like a door that swings or a window sash that slides — weatherstripping is the correct choice.
| Criterion | Caulk | Weatherstripping |
|---|---|---|
| Best application | Stationary gaps and joints | Moving edges (doors, operable windows) |
| Material types | Latex, silicone, polyurethane | Foam, rubber, vinyl, V-strip, felt |
| Tools required | Caulk gun, smoothing tool | Scissors or utility knife, screwdriver |
| Typical lifespan | 5–20 years (varies by product) | 2–5 years for foam; longer for metal |
| DIY difficulty | Moderate (needs a steady hand) | Easy to moderate |
| Fails if used wrong | Cracks when applied to moving joints | Peels if applied to rigid, non-compressing surfaces |
Where to Apply Caulk
Caulk belongs wherever two stationary materials meet and leave a gap. Common locations include:
- Window frames to exterior wall: The joint between the window frame and the surrounding siding or interior drywall is a prime air-leak site.
- Baseboards and door casing to walls: Hairline gaps behind trim can channel cold air in from a crawlspace or exterior wall cavity.
- Penetrations for pipes, wires, and vents: Any hole cut through a wall for plumbing or electrical work is a hidden draft source.
- Interior corners in unheated spaces: Gaps where walls meet in a basement or attic should be sealed before insulating.
Use a paintable, silicone-blended latex caulk indoors and a 100% silicone or exterior-grade caulk for any joint exposed to weather. Clean the surface, cut the tube tip at a shallow 45-degree angle, and draw the gun steadily along the gap. Smooth the bead with a damp finger within a few minutes before it skins over.
Up to 30%
Home energy loss from air leaks
The U.S. Department of Energy estimates that air infiltration through gaps and cracks can account for up to 30% of a home's heating and cooling costs.
$200–$400
Average annual savings from sealing drafts
Energy efficiency organizations generally estimate that thorough air-sealing and weatherization can save homeowners hundreds of dollars per year on utility bills, though results vary by climate and home size.
Where to Apply Weatherstripping
Weatherstripping belongs on any surface that opens and closes. Key locations include:
- Exterior door stops: The strip of trim your door presses against when closed is the primary weatherstripping zone. Foam tape, V-strip (tension seal), or door gasket all work here.
- Door bottoms: A door sweep or automatic drop seal closes the gap between the door's bottom edge and the threshold.
- Operable window sashes: Double-hung, casement, and sliding windows all have moving sashes that benefit from foam or pile (brush-style) weatherstripping.
- Attic hatches and pull-down stairs: These are often overlooked but can be massive sources of heat loss.
Choose the weatherstripping type based on the gap size and frequency of use. Foam tape is inexpensive and easy to install but wears faster. V-strip is more durable and suits door stops well. Door sweeps mount to the door face or bottom edge with screws — no adhesive to fail over time.
Don't Caulk a Weep Hole
Window frames often have small drainage holes — called weep holes — along their bottom edge. These are intentional. Sealing them with caulk traps moisture inside the frame, which can lead to rot and mold. Focus caulk on the joint between the frame and the surrounding wall, not on the frame itself.
Quick Application Tips for Both Materials
No matter which material you're using, surface preparation makes the biggest difference in longevity. Remove old, crumbling caulk with a plastic scraper and a caulk-removal tool before applying fresh material — new caulk won't bond reliably over a failing old bead. Wipe surfaces clean and let them dry completely.
For weatherstripping, measure the door or window perimeter carefully and cut strips slightly long, trimming to an exact fit at corners. Press adhesive-backed foam firmly along its full length and hold for a few seconds. For screw-mounted door sweeps, adjust the height so the sweep contacts the threshold with light, even pressure — too tight and the door drags; too loose and air slips through.
Test your work by closing the door or window on a piece of paper. If you can slide the paper out without resistance, the seal needs adjustment. A well-fitted seal should hold the paper with gentle friction.

Author
Home & Garden Editorial Team
Home & Garden Editorial Team is the collective byline for our editorial team and contributor network. Articles published under this byline or an editorial pen name are researched, written, and reviewed according to our editorial standards for clarity, consistency, and independence before publication.
View all articles →