
Drywall Repair: From Small Holes to Large Patches
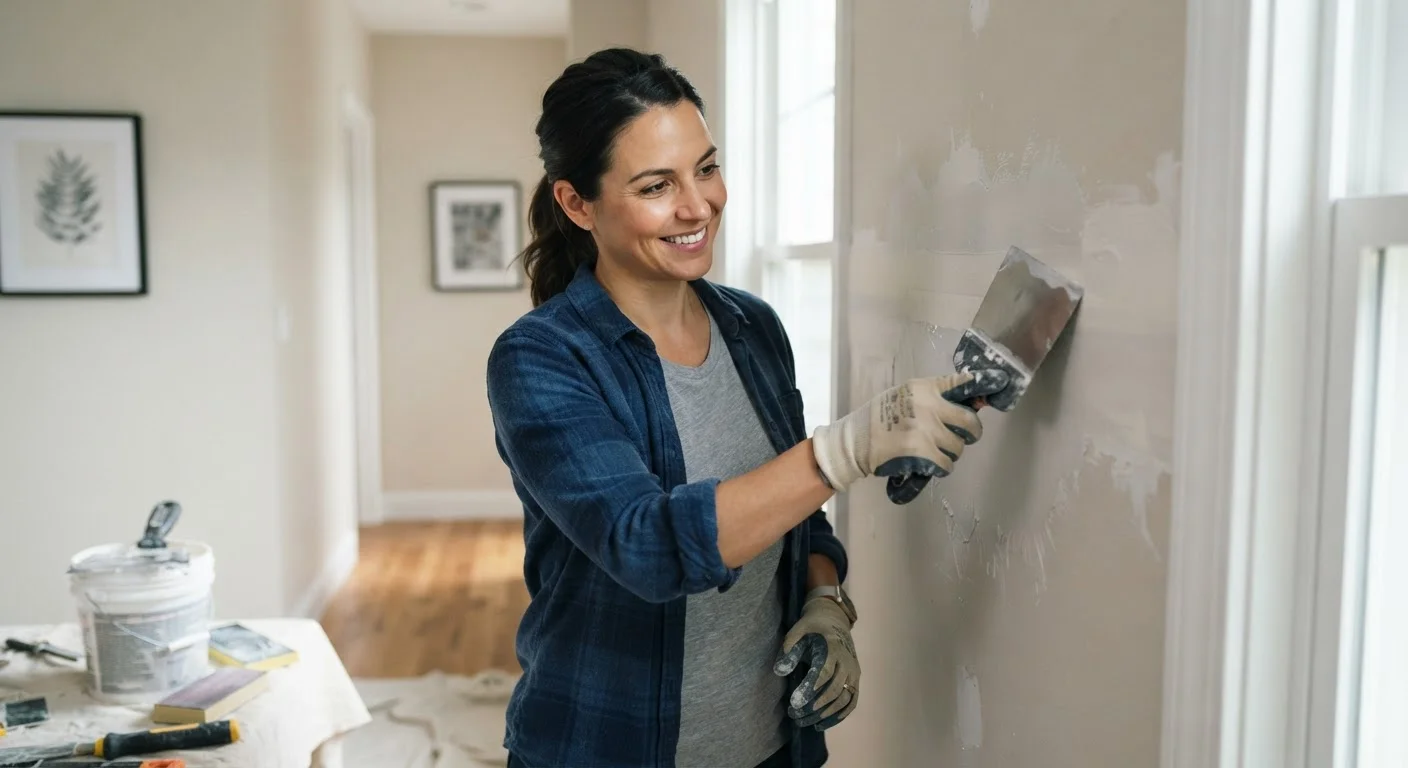
Photo credit: InfoHorizon.net | Access To Informative Content
In this article
Learn the right techniques for fixing drywall damage of any size, from nail pops to fist-sized holes, with clear step-by-step guidance.
Key Takeaways
- Repair method depends on hole size — small, medium, and large holes each need a different technique.
- Joint compound must be applied in thin, multiple coats and fully dried between layers.
- Feathering compound edges is essential for a seamless, paint-ready surface.
- Larger patches require a backing board or drywall clip for structural support.
- Priming before painting prevents the patched area from looking dull or different in sheen.
Understanding Drywall Damage
Drywall — also called gypsum board or wallboard — is the standard wall and ceiling material in most American homes. It's durable enough for everyday life, but it's also susceptible to impact damage, moisture, and the small injuries that accumulate over years of normal use: nail holes from picture hanging, doorknob dents, and accidental scuffs.
The good news is that drywall is one of the most repairable building materials in your home. Unlike plaster, which requires specialty skills, drywall repairs follow a consistent process that becomes straightforward once you understand it. The core principle is simple: fill the gap, reinforce it, and build up smooth layers of compound until the surface matches the original wall.
What changes between small and large repairs is mostly the support structure — smaller damage can be filled directly, while larger holes need a physical patch held in place before any finishing work begins.
What you will need
What You'll Need
Gather your materials before you start. Having everything on hand prevents mid-project trips to the hardware store, which can cause your partially applied compound to dry unevenly.
Utility knife
Scores and cuts drywall cleanly for patches and trimming edges.
Drywall saw (jab saw)
Cuts out larger damaged sections when a utility knife isn't sufficient.
Taping knives (4-inch and 10-inch)
Apply and feather joint compound in progressively wider coats.
Joint compound (pre-mixed)
Fills gaps, bonds mesh tape, and creates the smooth surface for painting.
Drywall mesh tape or paper tape
Reinforces seams and edges of patches to prevent cracking.
Sanding sponge or 120-grit sandpaper
Smooths dried compound between coats and before priming.
Drywall clips or backing board
Provides structural support when patching holes larger than about 6 inches.
Drywall primer
Seals the repaired area so finish paint applies evenly without dull spots.
Step-by-Step Repair Instructions
Follow these steps in order. Skipping the drying time between compound coats is the single most common reason a repair remains visible after painting — patience here pays off with a genuinely invisible result.
Assess the damage and choose your method
Determine the size of the hole or damage before gathering materials. Use these general guidelines:
- Small (up to 1 inch): Nail holes, small dents — fill directly with spackling compound or lightweight joint compound.
- Medium (1–6 inches): Doorknob dents, moderate damage — use a self-adhesive mesh patch kit.
- Large (over 6 inches): Significant impact damage — requires a cut-out patch with backing support.
Also inspect around the damage. If the drywall feels soft or crumbly, you may be dealing with moisture damage. Address any water source before repairing the wall.
Prepare the damaged area
Remove any loose paper facing, crumbling gypsum, or jagged edges around the hole. For small holes, simply scrape away any raised material so the surface around the hole is flat. For medium and large holes, use a utility knife or jab saw to trim the opening to clean, straight edges — a square or rectangle shape is easiest to patch neatly.
Apply the patch
Small holes: Apply a small amount of joint compound or spackling directly into the hole with a putty knife. Press firmly to fill completely, then smooth flush with the surrounding wall.
Medium holes: Peel and stick a self-adhesive mesh patch over the hole, centering it carefully. The mesh provides the reinforcement that keeps the compound from cracking as it dries.
Large holes: Cut a piece of new drywall slightly smaller than your opening. Insert drywall clips onto the edges of the opening, slide your patch piece in, and tighten the clips to secure it. Alternatively, attach a horizontal wooden backer board inside the wall cavity and screw the patch drywall to it.
Apply joint compound in coats
Using your 4-inch taping knife, apply the first coat of joint compound over the patch and any tape or mesh. Keep this coat thin — its job is to embed the tape and fill the void, not to build up the surface. Spread it smooth and let it dry completely (usually 24 hours, depending on humidity and room temperature).
Once dry, lightly sand with a 120-grit sanding sponge to knock down any ridges. Apply a second, wider coat using your 10-inch knife, feathering the edges several inches beyond the patch. A third finishing coat — spread even wider — creates the final smooth surface.
Sand, prime, and paint
Once the final coat is completely dry, sand the area smooth using a sanding sponge or folded sandpaper. Work in circular motions, then finish with light straight strokes. Run your hand across the surface — it should feel flush and seamless with the surrounding wall.
Wipe away all dust with a slightly damp cloth and let dry. Apply a coat of drywall primer specifically designed for repairs; this seals the porous compound so it doesn't absorb paint unevenly. Once the primer is dry, paint to match your wall. You may need two finish coats for a truly invisible repair.
Keep a Small Repair Kit Stocked
A tub of lightweight joint compound, a putty knife, and a small sanding sponge stored in a utility closet means you can tackle minor holes immediately rather than letting them go unaddressed. Pre-mixed compound in a sealed tub stays usable for months when the lid is on tightly.
Troubleshooting Common Issues
Even careful repairs can hit snags. Here are the most frequent problems and how to address them:
- Compound cracks after drying: Usually caused by applying coats that are too thick. Sand the area lightly and apply a thin additional coat to fill the cracks.
- Patch is visible after painting: The most common cause is skipping primer. The compound absorbs paint differently than the surrounding wall. Sand lightly, re-prime, and repaint.
- Edges are raised or ridged: The compound wasn't feathered wide enough. Sand carefully and apply another very thin coat extended further out from the patch.
- Screw pops (small bumps where screws push through): Drive a new screw about 2 inches above and below the popped one, then drive the popped screw back in slightly below the surface. Fill all three dimples with compound.
Moisture Damage Requires More Than Patching
If the drywall was damaged by a leak, fix the water source completely before repairing the wall. Sealing compound over damp or mold-affected drywall traps moisture and can lead to mold growth behind the wall surface. When in doubt, remove the affected section entirely and inspect the wall cavity before proceeding.

Author
Home & Garden Editorial Team
Home & Garden Editorial Team is the collective byline for our editorial team and contributor network. Articles published under this byline or an editorial pen name are researched, written, and reviewed according to our editorial standards for clarity, consistency, and independence before publication.
View all articles →