
Flooring Installation: Pitfalls That Ruin an Otherwise Good Job
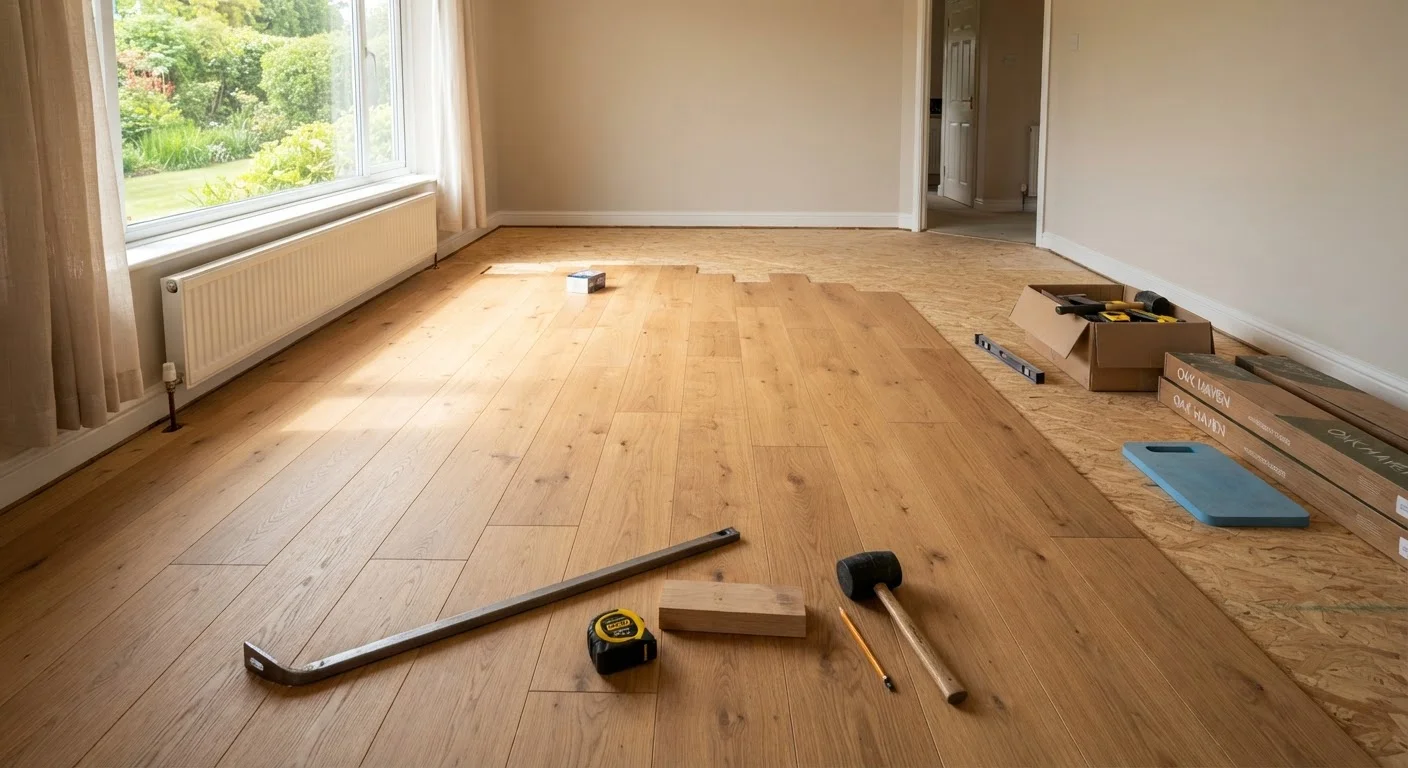
Photo credit: InfoHorizon.net | Access To Informative Content
In this article
Skipping acclimation, ignoring subfloor prep, and misaligning the first row are mistakes that compound fast. Learn what trips up DIYers most.
Key Takeaways
- Skipping acclimation causes wood and laminate floors to buckle or gap after installation.
- A poorly prepared subfloor transfers every flaw straight to the finished surface above.
- Misaligning the first row throws off the entire layout, creating visible crooked lines.
- Forgetting expansion gaps along walls leads to buckling as flooring expands seasonally.
- Choosing the wrong adhesive or fastener for your flooring type can void the manufacturer warranty.
Why Small Flooring Mistakes Compound Quickly
Flooring installation looks more forgiving than it is. Unlike painting, where a mistake can be rolled over, flooring errors early in a job tend to multiply with every row you lay. A crooked starting line drifts further off with each plank. A damp subfloor that seemed borderline on day one causes adhesive failure by month three. Understanding why these mistakes happen — and what each one actually costs — is the first step toward avoiding them.
If you're tackling your first renovation, what every first-time DIYer should understand before starting covers the planning habits that prevent costly rework across all types of projects.
~30%
DIY flooring projects requiring professional correction
Industry estimates from flooring contractors suggest roughly one in three DIY installations requires some level of professional remediation, most commonly due to subfloor or acclimation errors.
3/16"
Maximum subfloor variation over 10 feet
Most flooring manufacturers specify the subfloor must be flat within 3/16 inch over a 10-foot span — a standard that is easy to miss without using a proper straightedge.
48–72 hrs
Minimum acclimation time for laminate flooring
Laminate flooring manufacturers commonly require a minimum 48-to-72-hour acclimation period inside the installation room before the product is laid.
The Most Common Flooring Installation Mistakes
The mistakes below are ranked roughly in the order they occur during a typical installation. Each one is preventable with the right preparation — and each one is significantly harder to fix after the floor is complete.
Skipping the acclimation period for wood or laminate flooring.
Why it happens: Homeowners are eager to finish the project and assume flooring can go down the same day it arrives. Manufacturer instructions often get skimmed or ignored entirely.
Installing over a subfloor that hasn't been properly inspected, cleaned, or leveled.
Why it happens: The subfloor is out of sight once the new floor goes down, so many DIYers assume a quick sweep is sufficient preparation.
Misaligning or rushing the layout of the first row of planks.
Why it happens: The first row feels tedious because it involves a lot of measuring and cutting with little visible progress. Many DIYers rush this step to see faster results.
Forgetting to leave expansion gaps along walls and fixed objects.
Why it happens: Expansion gaps are invisible once baseboards go back on, so their purpose feels abstract. Some installers simply forget them under time pressure.
Using the wrong installation method or fastener type for the flooring material.
Why it happens: Flooring categories — engineered hardwood, solid hardwood, luxury vinyl plank, laminate — each require specific installation methods, and packaging instructions aren't always read carefully.
Not staggering end joints between rows, creating a visually weak and structurally poor layout.
Why it happens: Random staggering takes planning and often means cutting shorter pieces, which feels wasteful. Some installers default to a repetitive pattern without realizing the impact.
Subfloor Problems Cannot Be Hidden
High spots, soft spots, or moisture in a subfloor will telegraph through any flooring material over time. Do not proceed with installation until the subfloor is flat to within 3/16 inch over a 10-foot span and bone dry. Laying flooring over a compromised subfloor is one of the costliest mistakes a homeowner can make — it often means tearing everything up and starting over.
Moisture and Subfloor: The Foundation Everything Else Rests On
Moisture is the single most destructive force in flooring. It causes solid wood to cup and crown, laminate to swell at seams, and glue-down products to release from the slab. The frustrating part is that moisture damage rarely shows up immediately — it appears weeks or months after installation, once it's far too late to address the cause without removing the floor.
Check for Moisture Before Any Installation
Elevated moisture in a concrete slab or wood subfloor is the leading cause of flooring failure. Use an inexpensive moisture meter before you begin. If readings exceed the flooring manufacturer's specified limit, address the moisture source and allow adequate drying time — or apply a recommended moisture barrier — before laying a single plank.
For tile and stone floors, a related concern is the subfloor's structural rigidity. A subfloor that flexes underfoot will eventually crack grout lines. If you've dealt with that issue before, understanding why grout cracks and how to prevent it explains the root causes in plain terms.
When in doubt about whether a subfloor issue is within your skill set to fix, the decision of when to DIY versus call a professional applies just as well to home improvement as it does to any other skilled trade.

Author
Home & Garden Editorial Team
Home & Garden Editorial Team is the collective byline for our editorial team and contributor network. Articles published under this byline or an editorial pen name are researched, written, and reviewed according to our editorial standards for clarity, consistency, and independence before publication.
View all articles →