
Why Grout Cracks — and What to Do About It
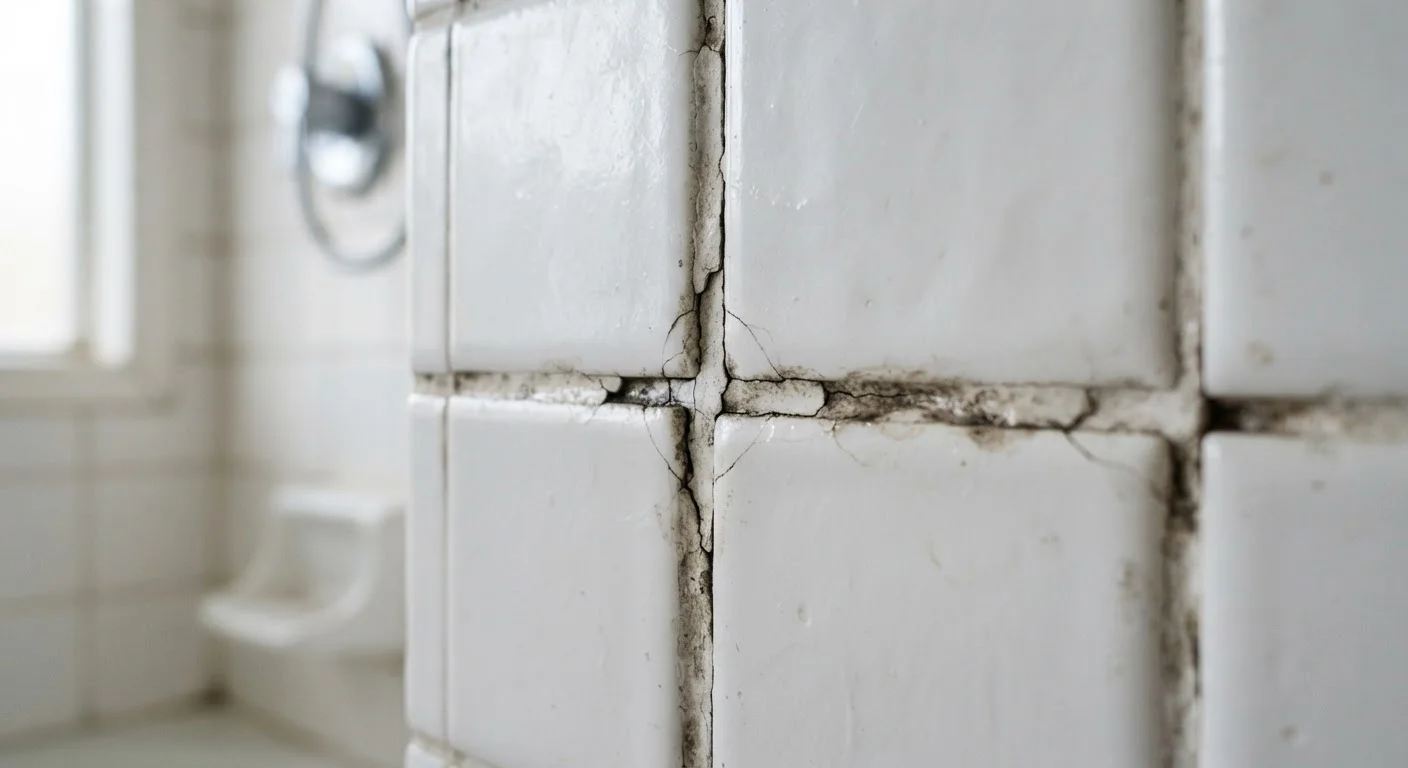
Photo credit: InfoHorizon.net | Access To Informative Content
In this article
Cracked grout isn't just cosmetic. Understand the root causes, when to regrout, and how to prevent the problem from coming back.
Key Takeaways
- Cracked grout is often a symptom of movement beneath the tile, not just a surface defect.
- Ignoring cracked grout can allow water to seep underneath tile, causing mold and structural damage.
- Most grout cracks in low-movement areas can be repaired with standard DIY regrouting.
- Expansion joints and proper subfloor prep are the most reliable long-term prevention strategies.
- Recurring cracks in the same spot signal a deeper problem that warrants professional evaluation.
The Real Reasons Grout Cracks
Grout doesn't crack randomly. In almost every case, there's an identifiable cause — and understanding it determines whether a DIY patch will hold or whether you need a deeper fix.
Movement beneath the tile
This is the most common culprit. Tile is rigid; the structure beneath it isn't perfectly static. Natural house settling, subfloor flex, and foot traffic create small but repeated movements. Grout — being brittle — absorbs that stress and eventually cracks. Floors over wood subfloors are especially prone to this, because wood expands and contracts with humidity and temperature changes.
Improper installation
If tiles were laid on an insufficiently cured or poorly prepared substrate, or if the installer used too much water in the grout mix, cracking is nearly inevitable. Similarly, skipping expansion joints (the small gaps that allow surfaces to shift without cracking) is a frequent installation error. As noted in common flooring installation mistakes, subfloor prep issues compound quickly and show up in grout before almost anywhere else.
Insufficient grout coverage
Grout joints that are too thin or not fully packed leave weak spots. These voids crack under normal use, sometimes within months of installation.
Age and normal wear
Even well-installed grout eventually dries out, shrinks slightly, and becomes brittle over years of exposure to cleaning products, water, and temperature cycles. This is especially visible in older bathrooms and kitchens.
Grout vs. Caulk: Know the Difference
Not every joint between tiles should be grouted. Corners, changes of plane (floor-to-wall transitions), and the joint between a tub and tile wall should be filled with flexible silicone or latex caulk — not grout. Grout is rigid and will crack in areas designed to flex. If you see cracking repeatedly in these locations, the solution is to switch to caulk, not regrout.
How to Repair Cracked Grout
For most homeowners, regrouting a cracked section is a manageable weekend project. Here's how to approach it correctly.
- Remove the damaged grout fully. Use an oscillating multi-tool with a grout removal blade, or a manual grout saw for small areas. Work carefully to avoid chipping tile edges. Remove grout to a depth of at least 2–3 mm so new grout has material to bond to.
- Clean the joints thoroughly. Vacuum out loose debris, then wipe joints with a damp cloth. Let the area dry completely — moisture trapped beneath new grout will cause it to fail.
- Mix or choose the right grout. Match the original grout type (sanded for joints wider than 1/8 inch; unsanded for narrower joints) and choose a color that blends with existing grout. Pre-mixed grout is convenient for small repairs.
- Pack grout firmly into the joints. Use a rubber grout float held at a 45-degree angle, pressing firmly to eliminate air pockets. Work in small sections.
- Clean excess and cure properly. Wipe away surface grout with a damp sponge before it hardens, then allow the full manufacturer-recommended cure time before exposing the area to water — typically 24–72 hours.
Seal Grout in Wet Areas After Repair
Once new grout has fully cured — typically 48–72 hours — apply a penetrating grout sealer in showers, tub surrounds, and kitchen backsplashes. Sealer reduces water absorption and helps prevent staining. Reapply every one to two years, or when water stops beading on the surface.
In wet areas like showers, consider sealing grout once cured to extend its life and resist staining.
Preventing Grout Cracks From Coming Back
Repair work only pays off if the underlying conditions change. Here's how to make that happen.
10–20 yrs
Expected lifespan of well-installed grout
Grout in properly prepared, stable tile installations can last decades; high-moisture or high-traffic areas typically see shorter service life.
2–3 mm
Minimum grout removal depth for effective repair
Industry tile installation guidelines recommend removing grout to this depth to ensure adequate bonding for new grout material.
Ensure the substrate is stable
Before retiling or regrouting an entire area, confirm the subfloor or backer board is solid, flat, and properly fastened. Any flex in the floor will eventually telegraph through to the grout.
Use expansion joints in large tile areas
Building codes and tile industry standards recommend soft expansion joints — typically filled with caulk rather than grout — every 8–12 feet in large tiled areas, and at all changes of plane (like where a floor meets a wall). These joints absorb the movement that would otherwise crack grout.
Seal grout regularly
Penetrating grout sealers help resist water absorption and reduce freeze-thaw damage in outdoor applications. Reapply sealer every 1–2 years in high-moisture areas.
Address repairs promptly
Small cracks won't heal themselves — they grow. Water that enters through cracked grout can damage subfloors and create mold conditions over time, costs that far exceed a weekend repair. The broader picture of what deferred home maintenance actually costs illustrates just how quickly small issues like cracked grout compound into larger expenses.
If the same crack reappears after proper repair, or if tiles feel loose or sound hollow when tapped, have a tile contractor evaluate the installation. Some problems require pulling up tile and correcting the substrate — not just the surface.
Frequently Asked Questions

Author
Home & Garden Editorial Team
Home & Garden Editorial Team is the collective byline for our editorial team and contributor network. Articles published under this byline or an editorial pen name are researched, written, and reviewed according to our editorial standards for clarity, consistency, and independence before publication.
View all articles →