
The Home Cook's Guide to Seasoning Cast Iron
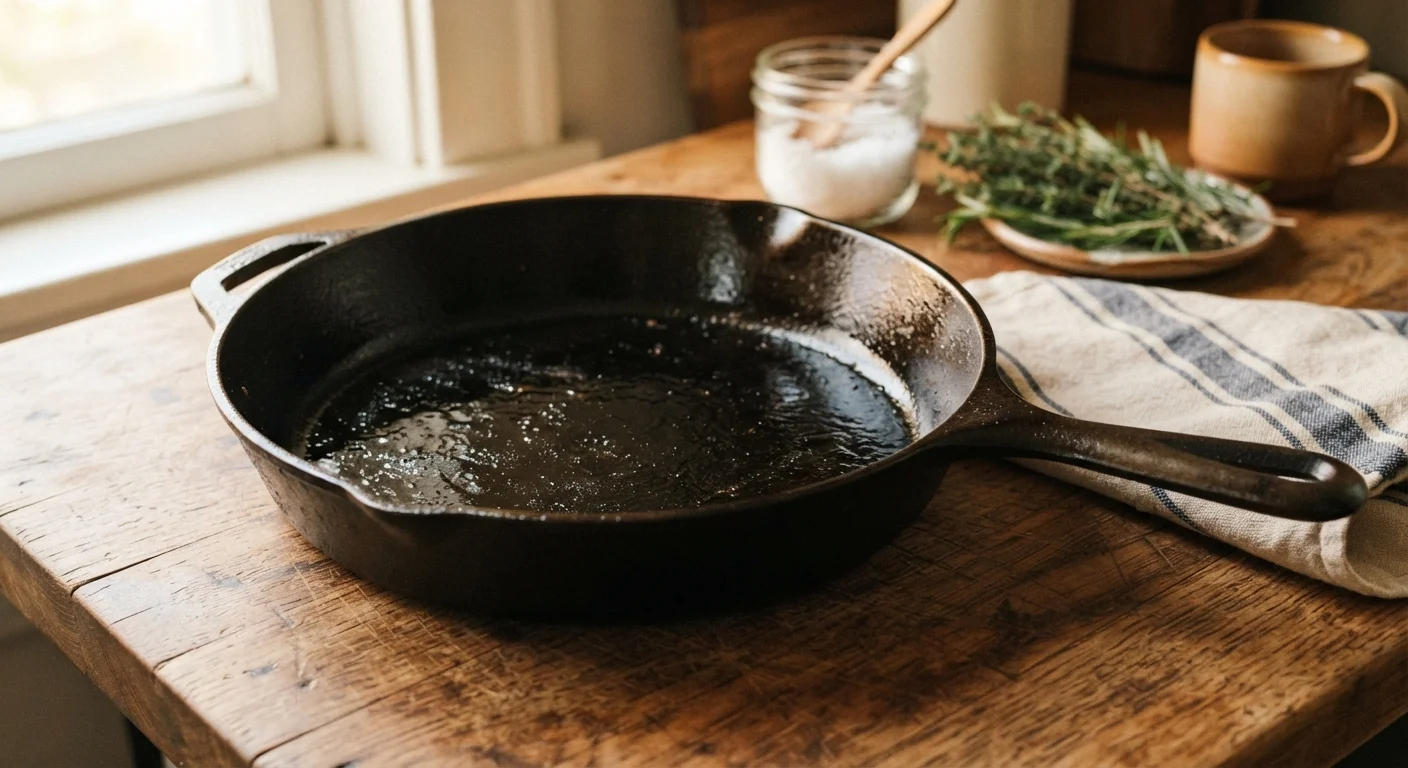
Photo credit: InfoHorizon.net | Access To Informative Content
In this article
Cast iron care myths debunked and best practices explained — including how seasoning actually works and how to maintain it long-term.
Key Takeaways
- Seasoning is polymerized oil baked onto cast iron — not a flavor coating or a one-time treatment.
- Thin, even oil layers applied at high heat build the most durable, nonstick surface.
- Soap won't ruin a well-seasoned pan — harsh scrubbing and prolonged moisture will.
- Cooking fatty foods like bacon naturally reinforces seasoning over time.
- Rust is recoverable — a stripped or rusty pan can be fully restored with patience.
What Seasoning Actually Is (and Isn't)
Cast iron seasoning isn't about flavor — it has nothing to do with salt, herbs, or anything you cook in the pan. Seasoning is a layer of polymerized oil: fat molecules that have been heated past their smoke point, broken down, and chemically bonded to the iron surface and to each other, forming a hard, smooth coating. Think of it less like a patina and more like a thin plastic film baked directly onto the metal.
This matters because it reframes the entire way you care for the pan. The goal of every wash, every cook, and every re-oiling session is to protect and build those bonded layers — not to preserve some mystery quality absorbed into the iron. With that understanding, a lot of common cast iron myths start to fall apart.
Soap, for instance, won't destroy a well-established seasoning. Modern dish soaps are mild enough that brief contact won't strip polymerized oil — only abrasive scrubbing or extended soaking poses a real threat. Similarly, cooking acidic foods occasionally won't ruin the pan; it may dull the surface slightly over time, but a seasoning that's been built up through regular use is more resilient than most people assume. If you love the versatility of one-pan cooking, a well-maintained cast iron skillet pairs well with the techniques covered in one-pan cooking methods.
Cast iron skillet or Dutch oven
The pan being seasoned — any cast iron piece follows the same process.
Neutral high-smoke-point oil
Flaxseed, vegetable shortening, or refined coconut oil polymerize well at high oven temperatures.
Lint-free cloths or paper towels
Used to apply and wipe away excess oil for a thin, even coat.
Oven
Provides consistent, high heat needed to polymerize oil into a stable seasoning layer.
Stiff brush or chainmail scrubber
For cleaning stuck-on food without stripping seasoning — chainmail is ideal for stubborn bits.
Before you begin, gather what you need:
What you will need
How to Season Your Cast Iron Pan
The process is simple, but the details matter. Follow these steps for a solid foundational seasoning — or to restore a pan that's been neglected or gone rusty.
Wash and Dry the Pan Thoroughly
If your pan is new or hasn't been used in a while, wash it with warm water and a small amount of dish soap to remove any factory coating, dust, or residue. Rinse completely, then dry immediately with a cloth or paper towel. Finish drying by placing the pan on a stovetop burner over low heat for two to three minutes — any remaining moisture will evaporate, leaving a bone-dry surface ready to accept oil.
Preheat Your Oven to 450–500°F
Set your oven to between 450°F and 500°F and let it fully preheat. This temperature range is high enough to trigger polymerization — the chemical process where oil molecules bond together and harden into a durable, plastic-like coating on the iron surface. Lower temperatures won't fully polymerize the oil and can leave a sticky residue instead of a smooth finish.
Apply a Thin, Even Layer of Oil
Using a lint-free cloth or paper towel, rub a small amount of neutral, high-smoke-point oil all over the pan — inside, outside, handle, and bottom. Then, critically, wipe away almost all of it. The layer should look nearly invisible. This is the step most people get wrong: too much oil pools and bakes into a sticky, uneven surface rather than a smooth seasoning. Thin is the key word here.
Bake Upside Down for One Hour
Place the oiled pan upside down on the center oven rack. Putting it face-down lets excess oil drip away rather than pool inside the cooking surface. Position a sheet of aluminum foil or a baking sheet on the rack below to catch any drips. Bake for one full hour without opening the oven.
Cool in the Oven, Then Repeat
Turn off the oven and let the pan cool completely inside — this slow cool helps the seasoning bond more thoroughly. Once cool enough to handle, assess the surface: it should feel smooth and look slightly darker. For a robust initial seasoning, repeat the oil-application and baking process two to three more times. Each layer builds on the last, creating depth and durability.
Always Use Oven Mitts — Cast Iron Stays Hot
Cast iron retains heat far longer than other cookware. The handle gets just as hot as the cooking surface during oven seasoning or high-heat use. Always use heavy oven mitts or a thick dry towel when handling, and never set a hot pan on a surface that can't tolerate extreme heat.
Ongoing Maintenance: How to Keep Seasoning Strong
Once you've put in the initial work, maintaining cast iron is mostly a matter of habit. After each use, clean the pan while it's still warm — stuck food releases more easily, and you'll use less effort. Rinse with hot water and use a stiff brush or chainmail scrubber for stubborn bits. Dry immediately and thoroughly, then apply the thinnest possible wipe of oil before storing.
Cook Bacon First After Seasoning
The first few cooks on a freshly seasoned pan matter. High-fat foods like bacon, sautéed onions, or pan-fried potatoes are ideal because their natural oils reinforce the seasoning layer as you cook. Avoid acidic foods like tomatoes or citrus until your seasoning is well-established.
Avoid leaving the pan wet or storing it in a humid cabinet without airflow. If you stack pans, place a paper towel between them to absorb any moisture that condenses.
A well-maintained cast iron skillet is also ideal for the high-heat cooking needed for a proper crust — understanding why that crust forms is worth reading about in the science behind searing meat.
Avoid Soaking or the Dishwasher
Submerging cast iron in water or running it through a dishwasher strips seasoning and invites rust almost immediately. Always hand-wash with minimal water and dry the pan completely — ideally on a warm burner — before storing.
With consistent use and care, a cast iron pan doesn't just maintain its seasoning — it improves. Decades-old skillets often develop a glass-smooth cooking surface that rivals expensive nonstick pans, and they do it entirely through the natural accumulation of well-polymerized layers. That's the real payoff of understanding how seasoning works: you stop fighting the pan and start working with it.

Author
Food Editorial Team
Food Editorial Team is the collective byline for our editorial team and contributor network. Articles published under this byline or an editorial pen name are researched, written, and reviewed according to our editorial standards for clarity, consistency, and independence before publication.
View all articles →