
Sheet Pan Dinners: Making the Most of One-Pan Cooking
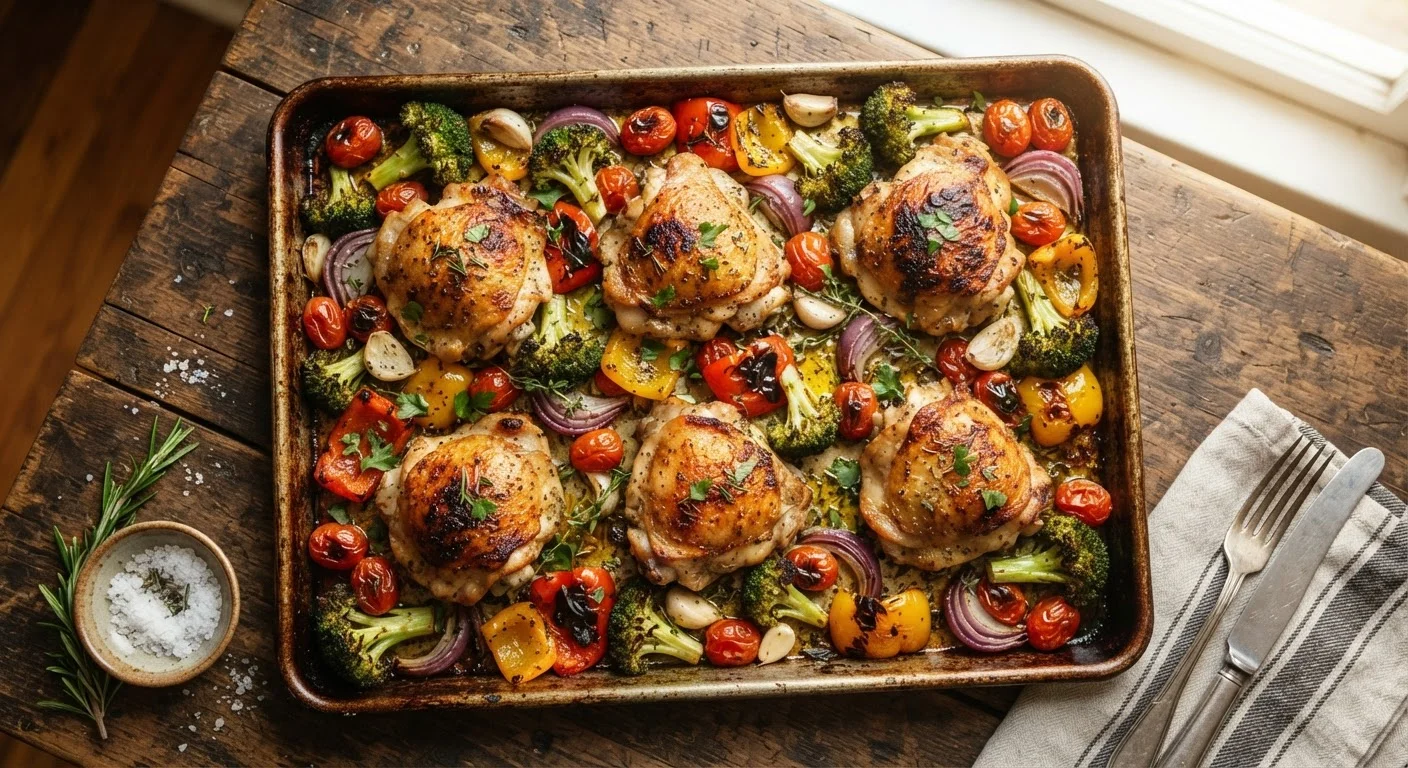
Photo credit: InfoHorizon.net | Access To Informative Content
In this article
Sheet pan meals are more than convenient — learn the technique behind even roasting, proper spacing, and building layered flavor in a single pan.
Key Takeaways
- Proper spacing on the pan is the single most important factor for achieving roasted — not steamed — vegetables.
- Staggering ingredient additions by cook time prevents burning fast-cooking items while undercooking denser ones.
- A high oven temperature (400–450°F) drives the browning reaction that builds deep flavor.
- Coating ingredients evenly in fat before roasting ensures consistent caramelization across the pan.
- Sheet pan meals can be structured as a balanced plate using protein, vegetables, and a starch in one cook.
Why Sheet Pan Cooking Works
Sheet pan dinners have earned their place in the weeknight rotation not just because they're convenient, but because the method itself is sound cooking. Roasting at high heat drives the Maillard reaction — the browning process that converts surface sugars and proteins into hundreds of flavor compounds. That caramelized edge on a carrot or a crispy-skinned chicken thigh isn't incidental; it's the whole point.
The flat, open surface of a rimmed baking sheet allows hot oven air to circulate around food, pulling out moisture and concentrating flavor in ways that a covered pot simply can't. Done right, a sheet pan dinner delivers deeply savory, textured food with very little active cooking time.
Before you start, having ingredients prepped and ready to go makes timing far easier. If you're not familiar with working through prep methodically, the approach covered in mise en place is worth building into your routine.
What you will need
The Techniques That Separate Good from Great
Most sheet pan failures come down to three fixable mistakes: crowding, uneven fat coverage, and ignoring cook-time differences between ingredients.
Spacing matters more than almost anything else. When pieces are too close together, they trap steam and braise each other instead of roasting. Each piece of food needs room around it — at least half an inch — so that moisture can escape as vapor. If your ingredient volume is large, use two pans rather than cramming one.
Fat distributes heat and promotes browning. Toss every ingredient in enough oil that each surface has a thin, even coat. Patchy coverage leads to patchy browning. A general guide: about one tablespoon of oil per pound of vegetables is a workable starting point.
Stagger additions by density. Root vegetables like potatoes and beets take 35–45 minutes. Broccoli, peppers, and zucchini need 20–25 minutes. Cherry tomatoes and leafy greens need only 10–15 minutes. Start the dense items first, then add faster-cooking ingredients partway through. This is the key move that makes everything finish at the same time.
Flip Once for Better Browning
Resist the urge to move food around constantly. Let ingredients sit undisturbed for the first half of cooking so a proper crust can form. Flip or toss once at the halfway point to brown the other side. Moving food too frequently prevents caramelization from building.
Sheet pan meals can also be built to form a genuinely balanced plate. For guidance on structuring portions without obsessive tracking, see building a balanced plate.
How to Build a Sheet Pan Dinner Step by Step
Preheat the oven and the pan
Set your oven to 425°F and place your empty sheet pan inside while it heats. A hot pan gives ingredients an immediate sear on contact, which jumpstarts browning and prevents sticking. Allow at least 20 minutes of preheat time — use an oven thermometer to confirm the temperature is accurate.
Cut ingredients into uniform pieces
Uniform sizing is what makes everything finish cooking at the same time. Cut vegetables into pieces of similar thickness — roughly 1 to 1.5 inches for most items. For proteins like chicken thighs or fish fillets, leave them whole or portion them into similarly sized cuts so they cook evenly.
Pat everything dry, then coat in oil and seasoning
Moisture on the surface of food creates steam in the oven, which inhibits browning. Pat proteins and vegetables dry with paper towels before seasoning. Then toss each ingredient in enough oil to coat every surface evenly — a light, thorough coating, not a pool. Season generously with salt and pepper, and add any dry spices or herbs at this stage.
Arrange on the hot pan without crowding
Pull the hot pan from the oven carefully using oven mitts. Arrange denser, longer-cooking ingredients first — spread them in a single layer with space between each piece. If ingredients are touching, move some to a second pan. Place proteins skin-side up or flat-side down depending on your goal.
Add faster-cooking ingredients at the right time
Return the pan to the oven and roast the dense items for 15–20 minutes before adding quicker-cooking vegetables. Pull the pan out, add the next round of ingredients without overlapping, and return it to the oven. Repeat with any delicate items (like cherry tomatoes or fresh herbs) in the final 10 minutes.
Check for doneness and rest before serving
Use an instant-read thermometer to check protein: chicken should reach 165°F at the thickest point; pork and beef vary by cut and preference. Vegetables are done when they're tender at the center and browned at the edges. Once out of the oven, let proteins rest for 3–5 minutes before cutting so juices redistribute.
Common Problems and How to Fix Them
Even experienced cooks run into sheet pan issues. Here are the most common ones and what to do about them.
Don't Crowd the Pan
This is the most common sheet pan mistake, and it's easy to underestimate how much space food needs. As a rule, if you can't see sheet pan surface between each piece of food, you have too much on one pan. Split the batch across two pans — you'll get far better results even if it means washing an extra pan.
- Food is pale and soft instead of browned: Oven temperature is too low, the pan is overcrowded, or there wasn't enough fat. Raise the temperature to at least 425°F and give each piece more space.
- Edges burn before the center cooks: Pieces are cut too small or irregularly. Aim for uniform cuts — roughly 1- to 1.5-inch pieces for most vegetables.
- Protein sticks to the pan: The pan wasn't preheated, or the surface wasn't adequately oiled. A hot pan creates an instant sear and reduces sticking significantly.
- Everything tastes flat: Season with salt before roasting, not just after. Salt draws out moisture initially, but at high heat it helps concentrate and amplify flavor in the crust.
Sheet pan cooking rewards a little attention to setup. Once you understand how heat and spacing interact, the method becomes a reliable framework you can apply to nearly any combination of ingredients you have on hand.

Author
Food Editorial Team
Food Editorial Team is the collective byline for our editorial team and contributor network. Articles published under this byline or an editorial pen name are researched, written, and reviewed according to our editorial standards for clarity, consistency, and independence before publication.
View all articles →