
Fermentation at Home: Kimchi, Yogurt, and Beyond
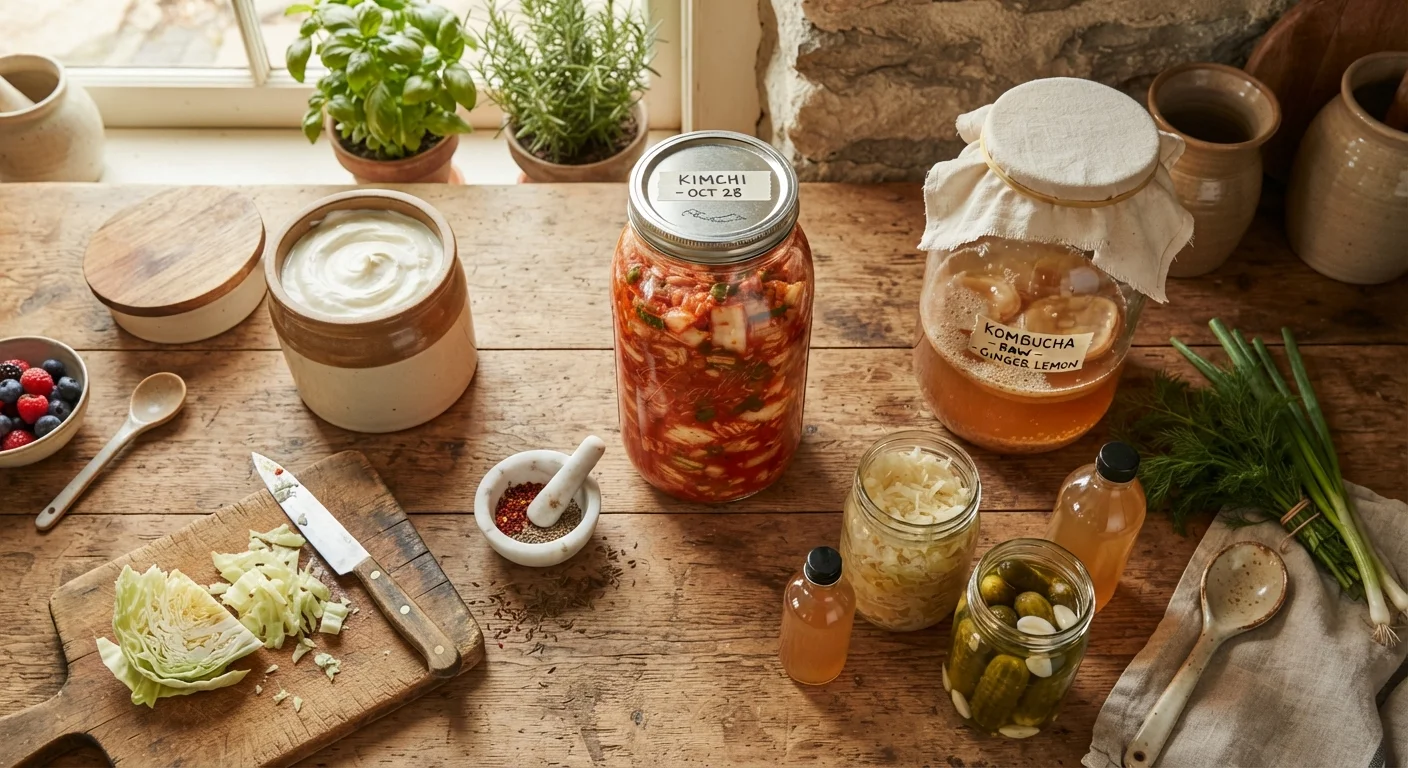
Photo credit: InfoHorizon.net | Access To Informative Content
In this article
An end-to-end introduction to home fermentation — covering the science, safety, equipment, and beginner-friendly projects to start with.
Key Takeaways
- Fermentation uses beneficial microorganisms to preserve food and develop complex flavors.
- Basic equipment — jars, salt, and a thermometer — is all you need to start fermenting at home.
- Kimchi and yogurt are two of the most beginner-friendly and forgiving fermentation projects.
- Salt concentration and temperature are the two variables that matter most for successful ferments.
- Spoilage is rare when basic hygiene and correct salt ratios are followed consistently.
- Many fermented drinks and foods share the same core principles, making new projects easy to learn.
What Is Fermentation and Why Does It Matter?
Fermentation is one of humanity's oldest food preservation techniques. At its core, it's a biological process in which microorganisms — bacteria, yeasts, or molds — convert sugars and starches into acids, gases, or alcohol. This transformation preserves food, creates new flavors, and, in many cases, increases the bioavailability of certain nutrients.
There are two main categories home cooks encounter. Lactic acid fermentation (used for kimchi, sauerkraut, yogurt, and pickles) relies on bacteria that produce lactic acid, lowering the pH enough to prevent harmful microbes from taking hold. Alcoholic fermentation (used in bread, beer, and kombucha) depends on yeast converting sugars into carbon dioxide and alcohol.
The appeal for home cooks is real: fermented foods are deeply flavorful, shelf-stable without refrigeration during the active process, and genuinely interesting to make. Before diving into your first project, running through a solid prep routine pays dividends — see our kitchen prep checklist to set yourself up for success.
2%
Salt-to-vegetable ratio for safe lacto-fermentation
Food scientists consistently cite 2–3% salt by weight as the safe and effective range for vegetable ferments, inhibiting harmful bacteria while allowing beneficial lactobacillus to thrive.
110°F
Ideal milk temperature before adding yogurt starter
Above 115°F (46°C), heat begins killing the live cultures in your starter; below 100°F (38°C), the bacteria become too sluggish to set the milk properly.
1–5 days
Room-temperature fermentation window for kimchi
Fermentation time varies with kitchen temperature and personal preference; tasting daily is the most reliable way to catch kimchi at the tang level you enjoy.
Equipment and Safety Basics
You don't need specialized gear to ferment at home. A wide-mouth mason jar, a kitchen scale, non-iodized salt (iodine inhibits fermentation bacteria), and a thermometer are the foundation of almost every beginner project.
- Jars: Wide-mouth quart or half-gallon mason jars work for vegetables and yogurt alike. Wash thoroughly with hot soapy water — sterilization is required for yogurt but not strictly necessary for vegetable ferments.
- Weights: Keeping vegetables submerged below the brine is critical. A zip-lock bag filled with brine, a small jar, or a purpose-made fermentation weight all work.
- Thermometer: Essential for yogurt. Helpful for monitoring ambient temperature in vegetable ferments.
- Scale: Salt ratios are measured by weight, not volume. A digital kitchen scale eliminates guesswork.
Salt Ratio Is Non-Negotiable
For vegetable ferments, always measure salt by weight relative to the weight of your vegetables — not by volume or estimation. Too little salt allows harmful bacteria to outcompete the beneficial ones; too much slows fermentation dramatically. A kitchen scale is the single most important tool you can invest in for fermentation safety and consistency.
One safety principle matters above everything else: keep vegetables submerged. Exposure to air is where problems begin. If your vegetables stay under the brine and your salt ratio is correct (typically 2–3% salt by weight of vegetables), the environment actively protects itself.
How to Make Kimchi at Home
Traditional kimchi involves napa cabbage, Korean red pepper flakes (gochugaru), garlic, ginger, and green onion. The process — salting, rinsing, seasoning, and fermenting — is straightforward once you understand the logic behind each step.
Step-by-Step Process
- Salt the cabbage: Quarter a medium napa cabbage and toss with a generous amount of kosher salt (roughly 2% of the cabbage's weight). Let it rest 1–2 hours until the leaves are pliable and water has drawn out. Rinse and squeeze dry.
- Make the paste: Blend gochugaru, minced garlic, grated ginger, fish sauce or soy sauce (for a vegan version), and a small amount of sugar. Toss with the cabbage and sliced green onions.
- Pack the jar: Press the mixture firmly into a clean jar, pushing out air pockets. Leave an inch of headspace — the kimchi will expand as it ferments.
- Ferment at room temperature: Leave at room temperature (65–75°F is ideal) for 1–5 days. Taste daily. Once it reaches a tang you enjoy, move it to the refrigerator, where it will continue to ferment slowly for weeks.
Reserve a small amount of brine when packing your kimchi jar. If the vegetables absorb liquid during fermentation and the top layer becomes exposed, you can top it off immediately rather than scrambling to make new brine.
Exposed vegetables above the brine line are the primary pathway for mold development in vegetable ferments, making this one of the most practical preventive habits.
Save a couple tablespoons from each successful yogurt batch as your next starter — you can perpetuate a culture this way for months before refreshing it with a store-bought yogurt.
Live cultures weaken gradually over many generations; refreshing from a commercial yogurt every few weeks ensures your starter remains reliably active.
Making Yogurt: Simple and Reliable
Homemade yogurt requires only two ingredients — milk and a small amount of existing yogurt as a starter culture — and a way to keep the mixture warm for several hours.
The Core Method
- Heat the milk: Warm whole or 2% milk to 180°F (82°C) in a saucepan, stirring occasionally. This step denatures whey proteins, producing a thicker final texture. Let the milk cool to 110°F (43°C).
- Add the starter: Whisk 2 tablespoons of plain yogurt with active cultures into the cooled milk. The live bacteria in your starter are the engine of the whole process.
- Incubate: Pour into a clean jar and keep it at 100–115°F (38–46°C) for 6–12 hours. Options include a turned-off oven with the light on, a cooler with warm water, or an Instant Pot on the yogurt setting.
- Refrigerate: Once set, refrigerate for at least 4 hours before eating. Strain through cheesecloth for Greek-style yogurt.
Check Your Starter Before You Begin
Your yogurt is only as good as your starter culture. Before incubating a full batch, confirm the yogurt you're using as a starter clearly states 'live and active cultures' on the label. An older or heat-treated yogurt will result in a batch that never sets properly. Keep a small, dedicated jar of starter in the refrigerator specifically for this purpose.
Other Beginner-Friendly Fermentation Projects
Once kimchi and yogurt feel comfortable, a wide world opens up. The same principles apply across dozens of projects:
- Sauerkraut: Shredded cabbage massaged with 2% salt by weight, packed into a jar under its own brine. Simpler than kimchi and an ideal first ferment.
- Lacto-fermented pickles: Cucumbers submerged in a 3% saltwater brine with garlic and dill, fermented 3–7 days at room temperature.
- Simple hot sauce: Blend fresh chili peppers with 2% salt by weight, ferment in a jar for 5–7 days, then blend smooth with vinegar.
- Crème fraîche: Heavy cream combined with a buttermilk starter, left at room temperature for 12–24 hours until thickened.
If fermented beverages interest you, the same microbial logic scales to drinks like kefir, kombucha, and tepache. Our guide to fermented drinks beyond beer and wine covers those in depth.
“Fermentation is the most sophisticated form of cooking humans have ever practiced — and also the most ancient. It requires us to collaborate with the microbial world rather than dominate it.”
— Sandor Ellix Katz, Fermentation author and educator, widely cited for popularizing home fermentation in the United States
Troubleshooting Common Fermentation Problems
Most fermentation problems are recognizable and fixable — or were preventable from the start.
White Film on the Surface
A white, powdery, or slightly wrinkled film on vegetable ferments is usually kahm yeast — harmless but unpleasant in large quantities. Skim it off, ensure vegetables stay submerged, and continue. It's not mold.
Actual Mold
Fuzzy growth in colors other than white — green, black, pink — means something went wrong. Discard the batch. This typically results from vegetables exposed to air above the brine, insufficient salt, or unclean equipment.
Yogurt That Won't Set
The most common cause is incubation temperature that's too low or starter that was too old. Check your thermometer and use yogurt that's within its use-by date with confirmed live cultures.
Kimchi That's Too Sour Too Fast
Fermentation speed is driven by temperature. A warmer kitchen accelerates the process significantly. Move the jar to the refrigerator earlier in the process to slow things down and extend the window of mild tang.
Reducing kitchen food waste from fermentation projects connects naturally with broader sustainability habits at home — our composting starter guide is a useful companion resource.
When to Discard a Batch
If a vegetable ferment develops fuzzy mold in any color other than white, has an unpleasant chemical or putrid odor (distinct from normal sourness), or shows signs of severe contamination, discard the entire batch and start fresh. Do not taste a ferment you're uncertain about. Trust your senses — a healthy ferment smells sour and bright, not rotten.

Author
Food Editorial Team
Food Editorial Team is the collective byline for our editorial team and contributor network. Articles published under this byline or an editorial pen name are researched, written, and reviewed according to our editorial standards for clarity, consistency, and independence before publication.
View all articles →