
Organizing a Small Kitchen Without Sacrificing Counter Space
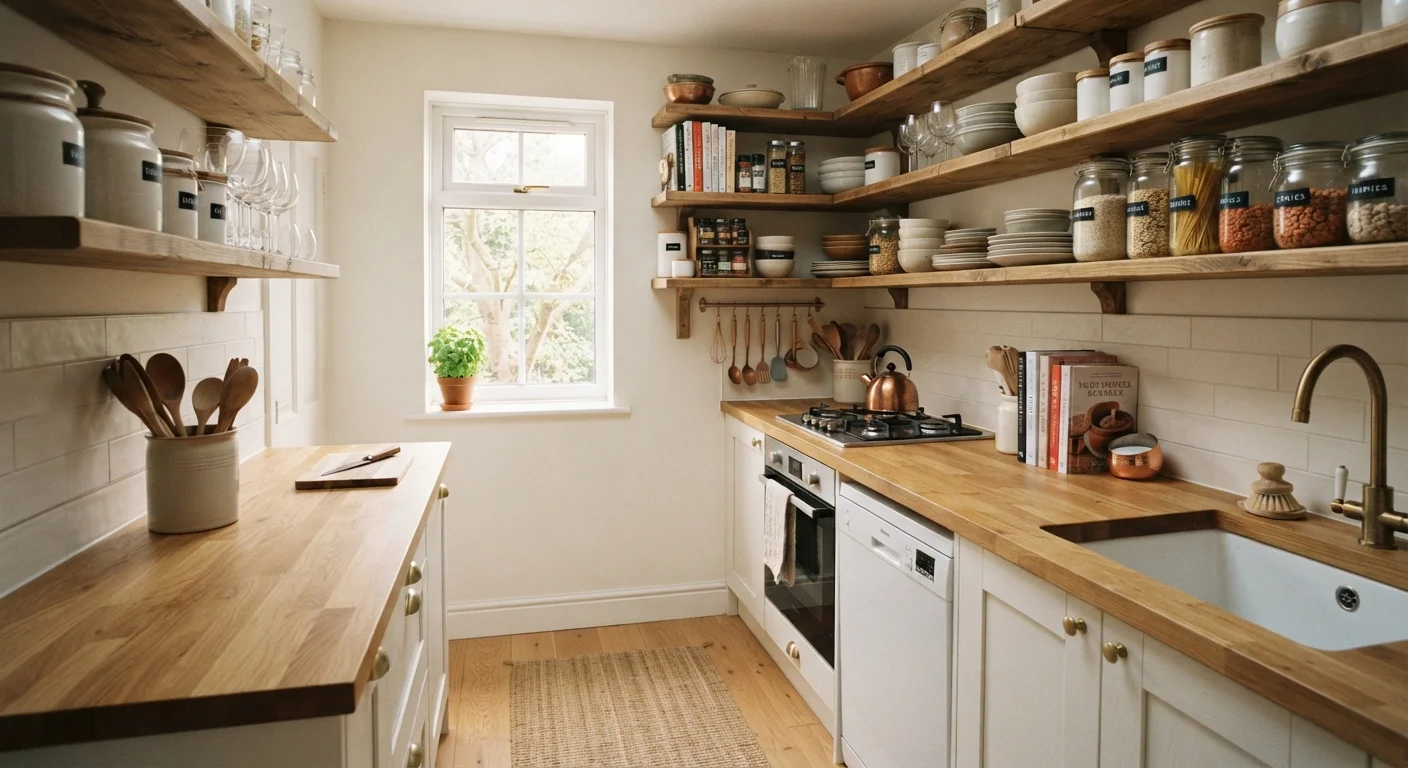
Photo credit: InfoHorizon.net | Access To Informative Content
In this article
Counter clutter is the enemy of a functional kitchen. Discover layout strategies and smart storage habits that keep small kitchens working smoothly.
Key Takeaways
- Vertical storage — shelves, hooks, and magnetic strips — frees counter space without requiring a renovation.
- Editing what you own is the first and most impactful step in small-kitchen organization.
- Grouping items by task zone reduces movement and keeps prep areas clear.
- Daily reset habits matter more than any single storage product you purchase.
- Drawer and cabinet interiors are often underused — organizers double their effective capacity.
Why Counter Space Is Worth Protecting
In a small kitchen, counter space is the most valuable real estate you have. It's where prep happens, where meals are plated, and where the actual work of cooking takes place. When counters fill up with appliances, mail, random gadgets, and jars that never found a home, that functional space disappears — and the kitchen becomes harder to use, not easier.
The goal of organizing a small kitchen isn't to own fewer things arbitrarily. It's to create a clear, intentional system where everything has a place, surfaces stay open for their intended purpose, and cooking feels manageable rather than frustrating. Good knife skills and confident prep work depend on having a clear, uncluttered surface to work on — the physical space and the skill reinforce each other.
Don't Organize What You Should Remove
Before buying a single bin or shelf, do a honest edit of every item in your kitchen. Duplicate gadgets, rarely used appliances, and expired pantry goods consume space that functional items need. Organizing clutter only entrenches it — declutter first, then organize what remains.
Before you move anything, gather your prerequisites and give yourself a realistic time window. Rushing this process typically produces half-organized spaces that revert quickly.
What you will need
The Tools That Make It Possible
You don't need an expensive renovation to reclaim a small kitchen. A handful of targeted, low-cost organizational tools address the most common pain points — wasted vertical space, inaccessible cabinet corners, and chaotic drawers. Review what you'll find useful below before starting.
Magnetic knife strip
Mounts knives on the wall, freeing a knife block's counter footprint entirely.
Stackable shelf risers
Double the vertical capacity inside cabinets without adding new cabinetry.
Over-door organizer
Uses the back of cabinet or pantry doors to hold small items like spice packets and wraps.
Drawer dividers
Separate utensils, tools, and gadgets so drawers stay navigable and don't become junk drawers.
Lazy Susan turntable
Improves access to deep corner cabinets where items typically get lost behind one another.
Wall-mounted pegboard
Creates a flexible, customizable vertical storage surface for pots, utensils, and small tools.
Apply the One-In, One-Out Rule
Each time a new kitchen item enters your home, one existing item should leave. This simple habit prevents the slow accumulation of gadgets and duplicates that quietly consume storage space over time. It works especially well in shared households — see our guide on organizing homes with multiple people for more strategies.
Step-by-Step: Organizing Your Small Kitchen
Follow these steps in order. Each builds on the one before it — skipping the declutter phase and jumping straight to storage purchases is one of the most common and costly mistakes in kitchen organization.
Empty and edit every cabinet, drawer, and surface
Pull everything out — yes, everything. Lay it on a table or the floor so you can see the full inventory at once. Discard anything expired, broken, or duplicated. Donate gadgets you haven't touched in over a year. Be honest: a kitchen with 40% fewer items is immediately easier to organize than one crammed with things kept out of guilt or optimism.
Map out your task zones
Identify the three or four core activities that happen in your kitchen: food prep, cooking, coffee or breakfast, and cleaning. Assign each a home base near the tools and surfaces it requires. Prep items — cutting boards, knives, mixing bowls — belong closest to your primary work surface. Cooking tools live adjacent to the stove. This zone-based layout reduces cross-kitchen movement and keeps counters purposefully clear.
If you cook regularly, adopting a mise en place mindset will reinforce your zones and make everyday cooking smoother.
Move appliances off the counter and onto vertical surfaces
The toaster, coffee maker, and stand mixer are the biggest counter occupiers in most kitchens. Appliances used fewer than three times per week belong inside a cabinet or on a dedicated appliance shelf. For appliances you use daily, consider a small rolling cart tucked against a wall — it adds surface area without consuming permanent counter real estate.
A wall-mounted pegboard or magnetic strip can relocate frequently used utensils and knives entirely off the counter. For a deeper look at how vertical systems compare to drawer-based solutions, see our guide on vertical storage vs. drawer organizers.
Maximize interior cabinet and drawer space
Most kitchen cabinets waste the top third of their interior height. Shelf risers — simple stacking platforms — allow you to create two levels inside a single cabinet, effectively doubling storage without adding square footage. In drawers, dividers prevent utensils from tangling and make every item retrievable without searching. Nest bowls and pots with lids stored vertically in a rack to prevent pile-on chaos.
Establish a daily reset routine
Organization systems fail when maintenance habits don't follow. Build a simple end-of-day reset into your routine: wipe counters, return items to their zones, and empty the dish rack. Five minutes of daily upkeep prevents the slow creep of clutter that undoes a full day of organizing. If multiple people use the kitchen, clear labeling and consistent zone agreements help everyone maintain the system — a topic explored further in our room-by-room home organization checklist.
Avoid Overloading Wall-Mounted Shelves
Wall anchors and shelf brackets must be rated for the weight you plan to store. Heavy items like cast iron or full canisters can pull improperly anchored shelves from drywall. If you're unsure about load ratings or wall construction, consult a hardware professional before mounting.

Author
Home & Garden Editorial Team
Home & Garden Editorial Team is the collective byline for our editorial team and contributor network. Articles published under this byline or an editorial pen name are researched, written, and reviewed according to our editorial standards for clarity, consistency, and independence before publication.
View all articles →