
The Apartment Walkthrough Checklist Every Renter Should Complete on Move-In Day
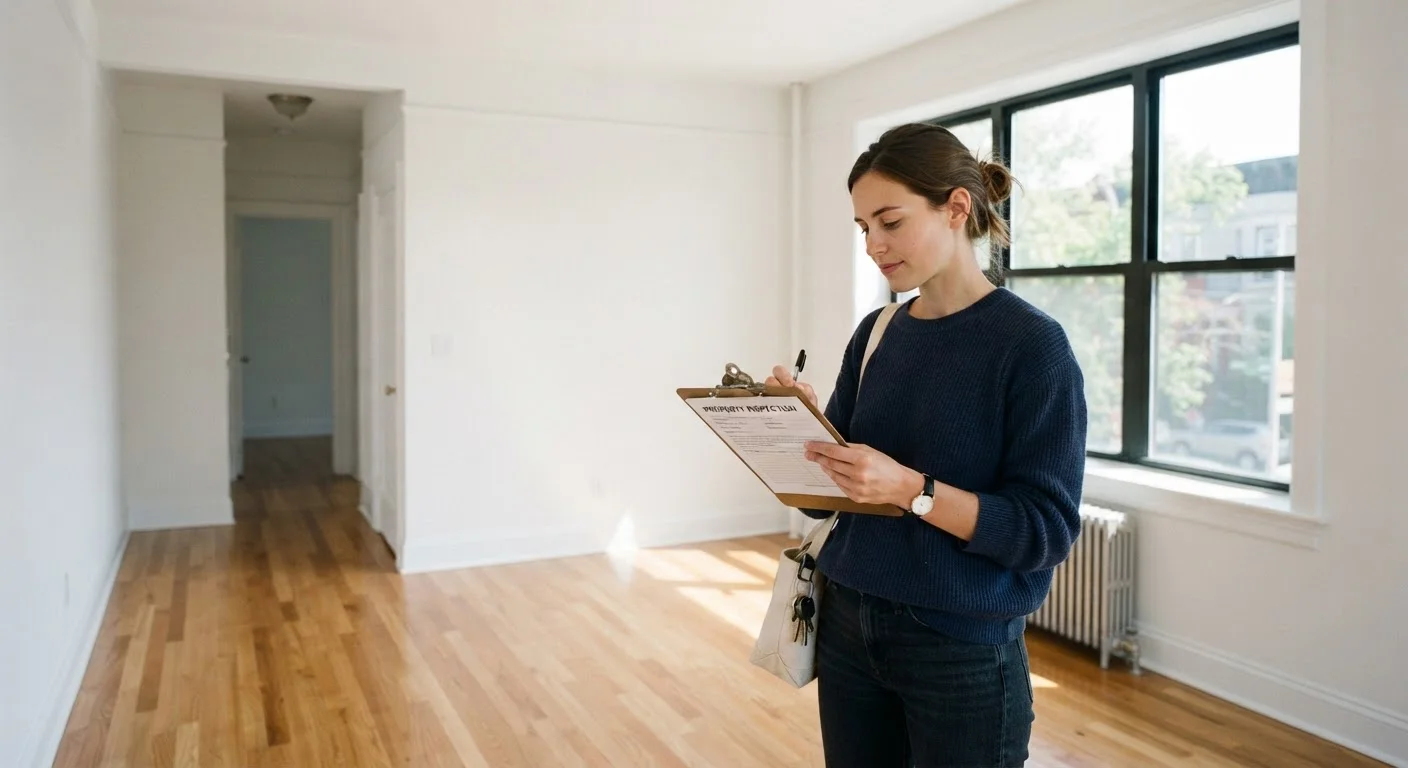
Photo credit: InfoHorizon.net | Access To Informative Content
In this article
Document every scratch, stain, and broken fixture before you unpack. Use this checklist to protect your security deposit from day one.
Key Takeaways
- Document every pre-existing flaw in writing and with photos before unpacking a single box.
- Request a signed copy of your move-in inspection report from your landlord on move-in day.
- Test every switch, outlet, fixture, and appliance — not just the obvious ones.
- Your security deposit is legally protected when you have documented proof of the unit's original condition.
- Returning your apartment in documented, comparable condition is the strongest defense against unfair deductions.
Why the Move-In Walkthrough Is Non-Negotiable
Your security deposit — often equal to one or two months' rent — is at stake the moment you get your keys. Without a documented record of your apartment's condition on day one, you have no reliable way to dispute charges when you eventually move out. Landlords are permitted to deduct for damages beyond normal wear and tear, but disputes over what qualifies are among the most common conflicts between renters and property managers.
A thorough walkthrough inspection creates a timestamped, written baseline. It shifts the burden of proof in your favor and signals to your landlord that you are an informed, attentive tenant. If you're new to renting, the full introduction to renting your first apartment covers what to know before you even reach this step. This checklist picks up where lease-signing ends.
Don't Accept Keys Without Doing This First
Some landlords will ask you to sign a move-in condition form before you've had a chance to inspect the unit. Never sign a form stating the apartment is in 'good condition' until you've personally verified every room. If a landlord pressures you to skip the walkthrough, document that pressure in writing — a text message or email is sufficient. Your ability to dispute deposit deductions later depends entirely on what's recorded on or before move-in day.
What You Need Before You Start
Gather your tools before walking through the unit. Trying to inspect and improvise at the same time means things get missed.
Smartphone with camera
Take timestamped photos and short video walkthroughs of every room and documented flaw.
Printed or digital move-in inspection form
Record the condition of each item systematically so both you and your landlord can sign it.
Flashlight or phone torch
Illuminate dark corners, cabinet interiors, and under-sink areas where damage is easy to miss.
Notepad and pen
Jot quick notes room by room before transferring them to your formal inspection form.
Portable phone charger
Keep your phone charged throughout a lengthy walkthrough so photos aren't interrupted.
Ideally, your landlord or property manager accompanies you during the walkthrough. If that isn't possible, request that you both sign a move-in inspection form afterward — and keep a copy. This form is a core part of the renter's full lifecycle from application to move-out, and skipping it creates financial risk at every future stage.
Verbal Agreements Don't Protect Your Deposit
If a landlord verbally acknowledges existing damage — a cracked tile, a scuffed wall, a broken cabinet hinge — that acknowledgment means nothing unless it appears in writing. Memories differ, and without a signed inspection record, you may be held financially responsible for damage that was there before you moved in. Always follow up verbal conversations with a written confirmation via email.
The Room-by-Room Walkthrough Checklist
Work through every room systematically. Don't rush — this hour of attention can save you hundreds of dollars when you move out. Note the condition of each item: Good, Fair, or Damaged, and photograph anything that isn't in perfect condition.
Walls, Ceilings & Floors
Doors, Windows & Locks
Kitchen & Appliances
Bathrooms & Plumbing
Electrical & Safety Systems
HVAC & Utilities
This approach mirrors the process buyers use when inspecting a property before closing — as detailed in the room-by-room final walk-through checklist for homebuyers — adapted for renters who need ongoing protection rather than a one-time transaction.
After the Walkthrough: Protecting Your Record
Completing the walkthrough is only half the work. What you do with your documentation determines how useful it actually is.
- Email your landlord a summary of everything you noted within 24 hours. A timestamped email creates an independent record outside any paper form.
- Back up your photos to cloud storage the same day, organized by room. File names with dates and room names (e.g.,
2024-06-01_kitchen_countertop-chip.jpg) make them easy to reference later. - Keep your signed inspection report with your lease. If your landlord won't sign, document that refusal in writing as well.
- Review before move-out. Pull out your move-in documentation when you're preparing to leave so you can address any accidental damage proactively rather than losing deposit money to deductions.
Once you're settled in, a room-by-room home organization checklist can help you set up your new space efficiently without creating clutter from the start.
This article is for general informational purposes only and does not constitute legal or financial advice. Tenant rights and landlord-tenant laws vary significantly by state and locality. Consult a qualified attorney or tenant advocacy organization for guidance specific to your situation.

Author
Real Estate Editorial Team
Real Estate Editorial Team is the collective byline for our editorial team and contributor network. Articles published under this byline or an editorial pen name are researched, written, and reviewed according to our editorial standards for clarity, consistency, and independence before publication.
View all articles →